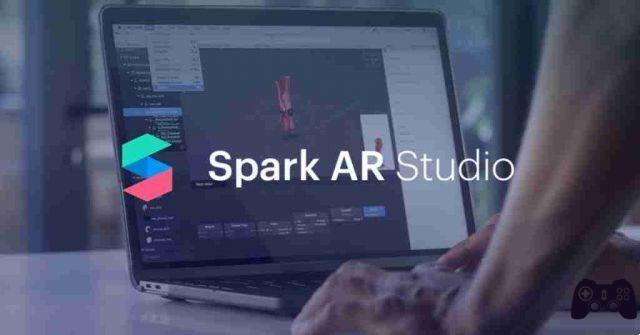
To create your own Instagram AR filter, you need a program called Spark AR Studio. It's a free tool created by Facebook that allows virtually anyone to design and create AR effects for Instagram. It is available for Windows and Mac platforms. The first step is to download and install the program on your device. Once this is done, start the program.
Download now .
How to use Spark AR Studio to create AR effects for Instagram
Once you have downloaded the program you will need to log in with your Facebook credentials.
Now the best way to get started with Spark is to take the preliminary tour. Provides a quick overview of the software interface in just five minutes.
Follow a few tutorials to get a better idea of Spark's core features and tools. Once you think you're ready to get down to business, you can create a filter from scratch or start with a preset one.
Spark AR will open your default workspace, which is divided into five main areas. The large space in the center is called the Viewpoint. It represents your main area of work and offers a complete perspective on your project. Here you can view all objects in your filter within range of your device's camera.
At the top right of the viewpoint, you will notice a mobile device - it's called the Simulator. By default, you get an iPhone 8, but you can change it to an Android device if you want. It is used to preview your work.
At the top left of the display we have the Scenes panel, which includes the basic structure of the objects in the filter. By default, you get ambientLight0 and directionalLight0, both lighting elements. Just below, you'll find the Assets panel, which houses all the materials used to describe the objects in the Scene panel.
On the right of the display we have the Inspector panel, where you will find all the properties of the elements you have included in your filter. This includes color, texture, position and many other aspects.
Once you have finished creating your Filter you can test it on your smartphone in order to try it out before publishing it.
Download and install on your mobile device. Once the app is launched, you will be asked to enable USB debugging in the developer options on Android. Do that, then connect your phone to your computer using a USB cable.
In Spark AR Studio on your computer, click on the button with the appearance of a smartphone in the lower left called Test on device. Click the Send button to send the effect to your mobile.
Open up, Spark AR Player on your phone and the filter should be there. You can try the effect in real time and even take pictures.
Now if you were happy with your newly created Instagram filter here's what you need to do to publish it.
Go back to Spark AR Studio on your computer and tap the Upload and Export button.
Done now you have uploaded your new filter among the Instagram effects. Your filter will be reviewed by the staff and if approved you will see it online.


