The Jailbreak of iPhone 6 y 6 iPhone Plus It has become stable and always very simple and quick to perform.
Apple will soon release a new version of iOS that will block the Jailbreak procedure! If you are interested in running it, do it as soon as possible or you probably won't be able to run it after the update (at least for a long time).
Let's check what to do to perform the jailbreak of our Apple device equipped with iOS 8 - iOS 8.1.
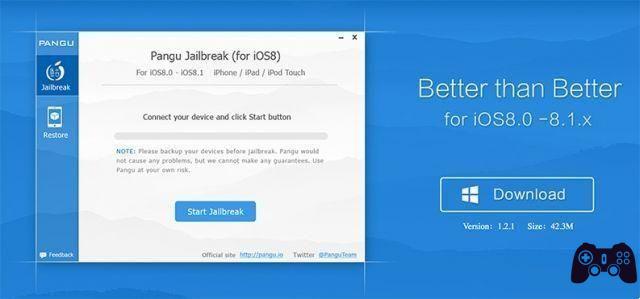
The tool Pangu, will allow us to execute the iOS jailbreak with a simple click. The list of devices supported by Pangu for IOS 8 jailbreak is:
- iPhone 6 / 6 Plus
- iPhone 5 / 5C / 5S
- iPhone 4S
- iPod Touch
- iPad/iPad aire/aire2
- iPad Mini/2/3

Virtually all devices where it is possible to have iOS 8. Next, the guide divided into paragraphs.
1) Download Pangu
Download the latest version of Pangu from the official website https://en.pangu.io by clicking the button “Download“.At the time of writing, the version is available Windows and for Mac.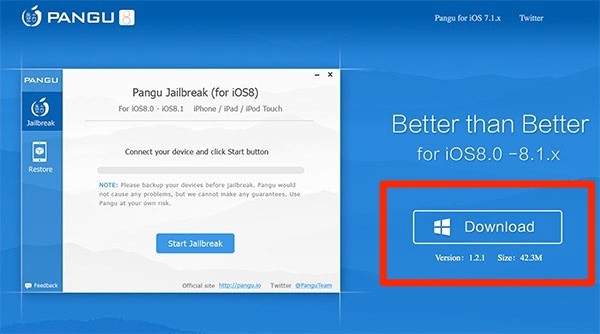
Please note that the link to the version is also available Pangu that supports the IOS 7 jailbreak; Also in this case there are both versions. Windows that that for Mac.
2) Preparation for jailbreak
Before proceeding to jailbreak It is highly recommended to carry out a series of steps, some of which are necessary to carry out a correct procedure by Jailbreak (tested several times) without any problem. First of all, make a Backup from your device via iTunes o iCloud. Remember that if you use iTunes and do not transfer the Apps from your device, you will have to download them again from the App Store. With iCloud you will be able to have all the Apps back in place during a possible restoration, it is advisable (but not essential) to perform a restore device from scratch.As advised by Pangu, disable Find my iPhone (Find my iPhone) and put the device in Airplane mode. Connect the device to the computer using the cable. USB.3) Jailbreak iOS with Pangu
comienzo Pangu and wait for automatic recognition of the device and the installed iOS version so that the tool correctly identifies yours iPhone / iPad.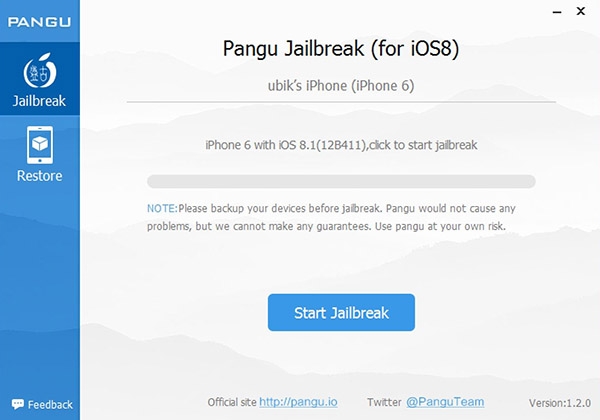
Once the device has been recognized, click the "Start Jailbreak” and on the next screen in “Already done” (basically the second screen summarizes what was said in point 2). The procedure will begin to perform the Jailbreak. It requires the transfer of some files to the device and it is perfectly normal that, at some point, your iPhone / iPad warns you that available space is about to run out; However, the space will be recovered at the end of the procedure.

Wait a few minutes (no more) and you will eventually receive a success confirmation message from the tool. Pangu which will also automatically restart the device.
After the reboot, the device will be ready and you will find the app. Cydia y Pangu in you you trampoline (the icon interface of theiPhone).Cheers! Pangu will inform you that the connected device is of type "jailbreak”exactly after identification.
If something didn't go well, read theAppendix.
4) Cydia released
comienzo Cydia and prepare to configure the file system of theiPhone / iPad.
If prompted, choose to make a Complete upgrade (Update complete).


Now you can install any to pinch o SCHEDULE directly from Cydia and add sources for yours packages / customizations favorites Remember to reactivate Find my iPhone (Find My iPhone) disabled in step 2 of this guide.


