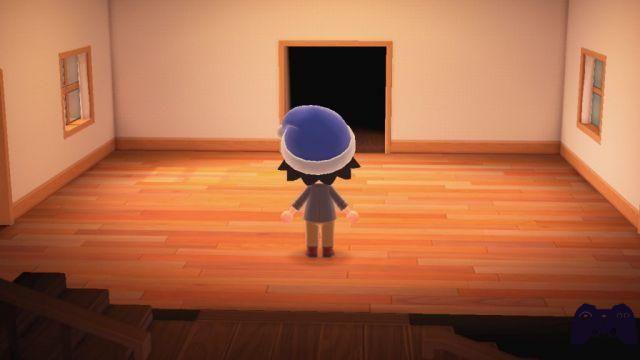
Expressing oneself freely through the great variety of personalization is one of the key aspects of Animal Crossing: New Horizons. Thanks to the innovations introduced compared to the previous chapters of the series you will really have a lot of room for maneuver from this point of view. One of the places on the island where you can unleash your creativity is definitely your home. But be careful, it will not be completely available immediately, you will have to unlock the various rooms by expanding it several times with the help of Tom Nook.
In this guide I will explain how to unlock the rooms and complete your home, also specifying how to customize their external appearance and various general characteristics. To find out more about the title, we highly recommend ours Animal Crossing: New Horizons guide.
- How to build a house
- All expansions available
- How to move the house
- What is the use of following Feng Shui
How to build a house
When you start your adventure on the island, Tom Nook will immediately entrust you with the task of planting tents for you and the two inhabitants in your entourage, as a temporary refuge before the actual work actually begins.
The first step towards construction of a dwelling worthy of this name will be the payment of the initials 5.000 Miles of Nook, by completing various challenges that you can find in the appropriate app of your Nook Phone.
It will be enough for you to perform random activities around the island to unlock most of them, but my advice is to follow the following list to do it very quickly and without particular effort:
On your birthdaythey will also be given to you as a gift 2.000 Miles of Nook, so if you started playing it on your birthday, take advantage of it!
After completing this payment, you will finally have the opportunity to use 98.000 Starlets to expand the tent into a small brick house.
All necessary expansions
Clearly the first improvement, however substantial compared to the previous tent, will not be enough to meet your needs, so soon you will want to expand your home even more both to add rooms and to expand the closet.

In total, including the transition from tent to home, it will be possible to make 8 improvements, each with their own benefits and, of course, costs in Stelline.
However, keep in mind that you will not have to pay the amount they require immediately, but you can do it later by entering the “Stellomat"Of Punto Nook and clicking on the appropriate section. It will still be a necessary step to unlock the next improvement, so always accumulate as many Stars as you can if you want to fully expand your home in decent time.
In total, to have the home improved to the maximum you will have to spend 6.196.000 Bells. Not a small sum, which can be reached relatively easily by buying and selling turnips during the week. If you want to know how to do it best, we refer you to ours guide to turnips.
Once everything is complete, all you have to do is decorate the various floors as you wish and modify their external appearance, customizing both the color and the type according to different presets that Tom Nook will show you if you tell him about it.
Is it possible to move the house?
The answer is yes, and it will also be relatively easy, but as with any job it will require money and some time. To do this, you will have to go to Tom Nook and select the dialogue choices "About home ..." and "I would like to move", paying a sum of 30.000 Bells.
Once you have selected the new place to locate your home, you will have to wait until the next day for the transfer to be completed.
Are there any bonuses to following the Feng Shui pattern in furniture?
No, or rather, there will be no concrete bonuses like in the other chapters of the series. However, you can use it to get one good evaluation by the 'Academy of beautiful housesand and therefore unlock exclusive tools.
Taking a square room as an example, to follow the Feng Shui you will have to place green objects within two squares adjacent to the bottom side, red tools within two squares adjacent to the right side and yellow tools within two squares adjacent to the left side.

Green items will go here 
Here will go red objects 
Here will go yellow items


