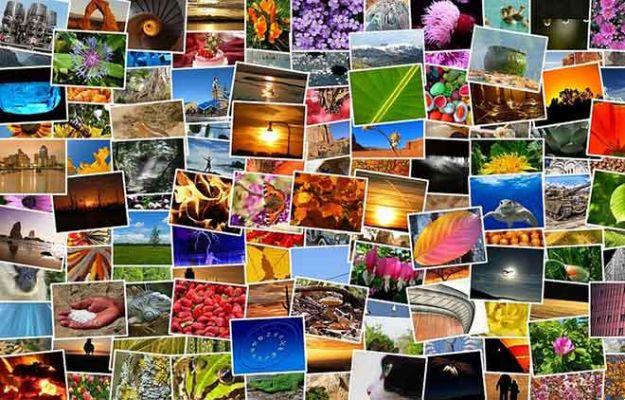
You can create collages using third-party online tools, but with most of them you will have to deal with advertising (it is normal, they will have to keep) or you can save your work only by adding a watermark. Well, the good news is that you can create a collage using Google Drawings (free and without watermark). For those who don't know, Google Drawings is a free tool meant for basic graphic creation and editing.
We will show you how to create an image collage with Google Drawings. You can access Google Drawings directly from drawings.google.com or open it from Google Drive. In Google Drawings, you can add your own images, text, layer images, and perform various other image edits. We talked about everything in this post. Let's learn how to create a collage in Google Drawings.
How to create a photo collage in Google Drawings
Step 1: open drawings.google.com in a web browser on your PC.
Step 2: a blank canvas will open. Click Insert followed by Image. You will be offered various ways to add your photos. You can add photos from Google Drive, Google Photos, via your computer, add via a URL, or search the web within Google Drawings. Select how you want to add your images.
3 pass: Add as many images as you want into the collage using step 2. All images will be stacked on top of each other. You can add more images later. Do not worry.
Step 4: now you need to customize the collage to suit your needs and preferences. Here are various editing tips to create a beautiful collage in Google Drawings.
Resize photo
To resize a photo, click on it once to select it. Once selected, use the tiny boxes available at the four corners to increase or decrease the size of the image evenly. Drag it in or out using the corners. You can also resize the image using the small boxes in the center, but that won't keep the height-to-width ratio.
Move photos
To change the position of a photo, you can select it by clicking on it. Then drag the image to the new location. You can also use the four arrow keys on the keyboard to change its position.
Use the guide
When you resize or move an image, you will be guided by red lines to perfectly align the image with other images. You can take their help to create well-made collages.
If the red alignment lines aren't visible, click the View option in the top menu bar. Go to Snap to and choose Guides.
Rotate image
To rotate an image, right-click on it and select Rotate. Then choose how you want to rotate your image.
Alternatively, if you want to rotate the image in any direction, select the image. Then rotate the image using the handle at the top of the image.
Crops the image
Sometimes, you may find that one of your photos in the collage has an unwanted area. Instead of using any third-party editor to crop the image, you can do it in Google Drawings.
To crop an image, double click on the image and a black border will appear around it. Use that border to select the area you want to keep. Then hit the Enter button to crop the image. You can also right-click on the image and select Crop from the menu. Alternatively, click on the Crop option present in the top menu.
Cut out the image into a shape
To give your collage an interesting look, you can cut out your images in different shapes. You don't have to do it manually. Just select the image and click the arrow icon next to the Crop tool present in the top bar. Select how you want to mask your image.
To arrange the image inside the shapes, double-click on it and drag it. You can rotate, resize and move the image within a shape.
Reorder images
Google Drawing supports image layering. Then you can add one image on top of another and move it forward or backward just like you would any regular photo editor.
To do this, right-click on the image and choose Order. Select the option you prefer.
- How to make a photo collage with Snapseed
Add text
If you wish, you can also add text to your collage. To do this, click Insert> Text Box. Type the text you want. Similarly, you can add shapes and lines to your collage.
More image editing options
You can further customize individual images using various formatting options. For example, you can recolor images, add shadows or reflections, and more. To do this, right-click the image you want to change and select Format Options. The formatting options will appear in the right sidebar. Apply them as required.
Step 5: files in Google Drawings are saved in your Google Drive account. You can access and edit them at any time from Google Drive.
When the collage is ready, you can download it as an image file or use the collage in a Google Docs document.
To download the collage as an image, click File followed by Download. Select the image format.
- The best sites to edit photos online for free
To insert into a Google Docs document, open the document and go to Insert> Drawing. Select From Drive and choose the collage.
Here's how you can create beautiful collages in Google Drawings without any hassle. I emphasize, you can use collages created in Google Drawings outside of it as well. You just need to download the collage as an image, as mentioned above. You can then add it into Google Slides, PowerPoint Presentation, or even a Word document. Download Word free for PC and the best alternatives
Further Reading:
- How to put multiple photos in an Instagram story
- How to make a photo collage with Snapseed
- How to make a photo collage on Android
- How to make a collage on Instagram? Very easy
- Delete unwanted objects from photos on Android


